Various progress on basic animatic, still a few more scenes to put together..
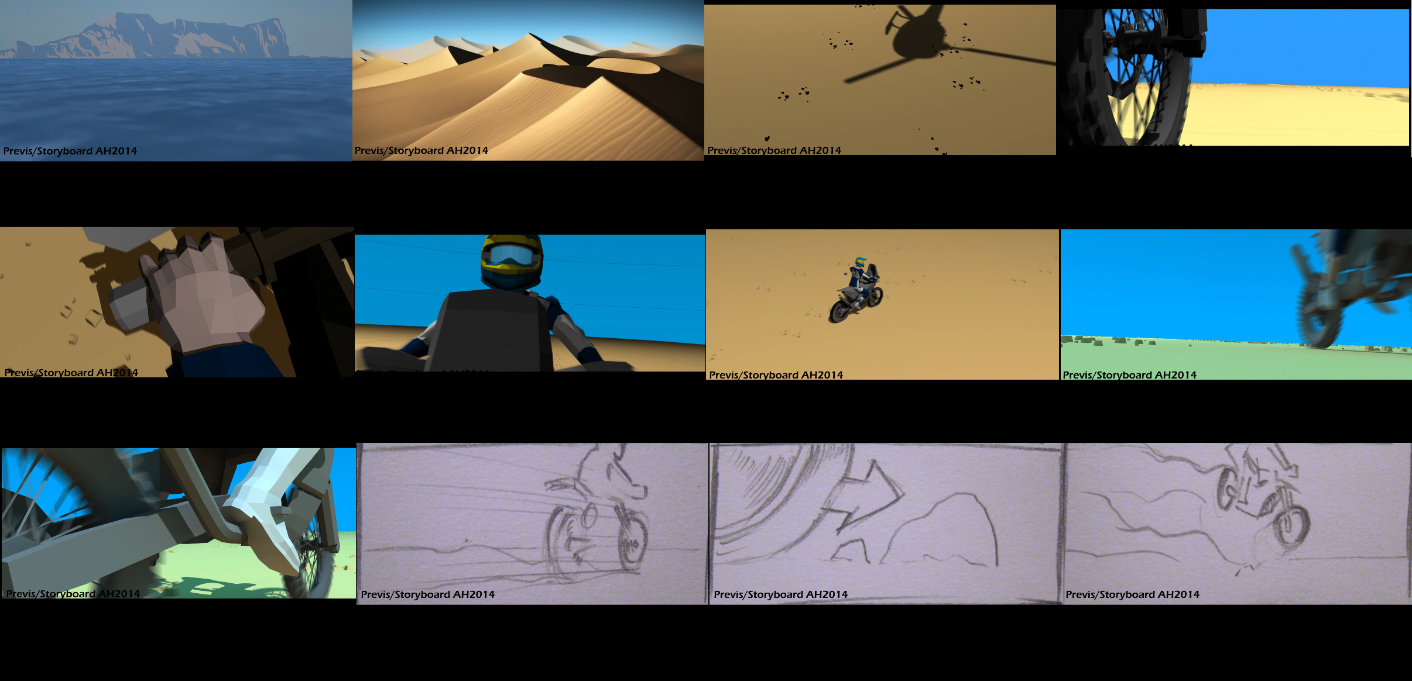

Various progress on basic animatic, still a few more scenes to put together..
Scene 8, starting work with bike and character.

So I`ve spent quite a few hours rigging and re-rigging my low-poly character and re-familiarizing myself with the process again. I was never an expert to begin with but I`m slowly, slowly getting results. So used Inverse Kinematics to place the hand on the handlebar. Scene 9 will be the real test showing the bike and character in full few.

When I have completed the 16 previs shot’s I’ll post them for viewing.
Setting up a basic animatic. The following scenes will require some character rigging work before I can proceed…

Final work on my low-poly character for the moment, which I’ll be using to put together some animatic shots for the first two minute test scene. A more detailed model & texturing work will come later.
I`ll start by rigging the character by itself just to get the basics again, I may need some help with rigging the character and bike though….


Some early particle experimenting in Maya, it’s turning out to be processor intensive even on this basic scene. And importing it into one of my animatic scenes with the main bike becomes impossible to work with, especially if I want a number of particle effects in one shot. I’m going to have to upgrade when I’m in a position to. For now I’ll be concentrating back onto prop modelling & getting my animatic shots into place for this first minute section.
I new it wasn’t going to be easy….
Trying to make sure proportions of objects feel right.
I wish there was a magic “finish animation” button…


In the process of adjusting & re-modelling a low polygon character I built a while ago, there’s absolutely no point in starting from scratch if you already have something in place.
